Converting an old 8mm projector from bulb to LED
- Details
- Category: Completed
- Published on Friday, 12 August 2011 07:45
The Raynox DU 707 A projector
 Raynox DU 707 A Raynox DU 707 A |
I bought this lovely old Raynox DU 707 A projector a few years ago at a flea market. Along with it i purchased a box of old 8mm. cartoons.
What a catch. There was Popeye, Disney’s Cinderella, a bunch of Tom and Jerry movies along with lots of other lesser known cartoons. It took me several hours to figure out how it worked, and how to rewind the movies without them becoming upside-down or reversed. … but I figured everything out, and it has seen quite a lot of use since.
Unfortunately the (expensive) bulb died on me quickly and I decided to replace it with LED.
The bulb, and materials to replace it
 Raynox, bulb exposed Raynox, bulb exposed |
 Components for repair Components for repair |
The bulb (an A1/17 CXR 8v 50w) is only rated for 25 hours and burned out pretty fast. This bulb costs around $25, so instead I decided to purchase s 12v/10w/900 lumen led module and a 250 volt power supply board for it with a total cost of $20 and a long long lifetime.
The LED has a metal backing plate, but it gets very hot within seconds, so it was vital to use a heatsink. I used an old northbridge-heatsink scavenged from an old motherboard.
Opening the projector and fitting the powersupply
After finding the materials, i opened the projector. It had a very orderly layout, and there were solid colorcoded wires to everything. The big transformator in the top makes the 8v/50w that the oldfashioned bulb needs. I was going to get rid of the transformer, but then discovered that the motor driving the belts are running at 110 volts, which is also made by this transformer. A cool discovery is that the variable-resistor controlling the drive speed is the old wound kind. Haven’t seen those around in ages.
 Raynox, open Raynox, open |
 Old variable resistor Old variable resistor |
 LED powersupply LED powersupply |
 Powersupply fittet Powersupply fittet |
After figuring out how the ff/rev/ff+light/rev+light switch was wired (fairly simple), i inserted the LED power supply which fitted nicely in the bottom of the cabinet. I did, though have to make sure it did not touch the cabinet as this is made of metal. It was fitted using industrial grade Velcro so that i can get it out when needed.
The Heatsink
As explained, it is a problem with the LED is that it gets very hot. Therefore i needed to attach it to the heatsink i had found. First the old heatsink was sanded down as it had traces of old heatcontuctive paste from the northbridge-chip (using very fine sandpaper as the surface needs to be smooth).
 Sanded heatsink Sanded heatsink |
 Drilling heatsink Drilling heatsink |
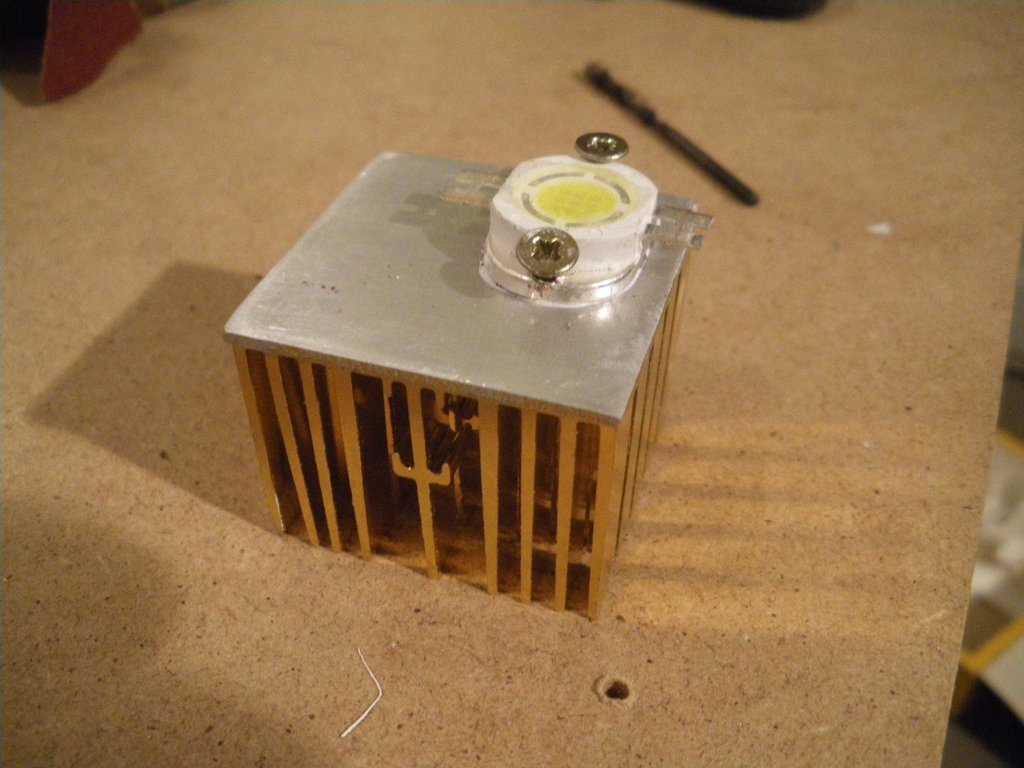 LED fitted LED fitted |
Thereafter the LED was fitted with a new thin layer of heat conductive paste, a few holes drilled through LED-plate and heatsink – and the two parts assembled using screws.
Making the new bulb
The new bulb is fairly simple. It consists of a small rod connected to the heatsink with the LED. The base from the old bulb (which is very solid and has a snap-in mechanism that fits in the projector) was recycled so the new “bulb” will fit into the projector.
 Bulb is smashed Bulb is smashed |
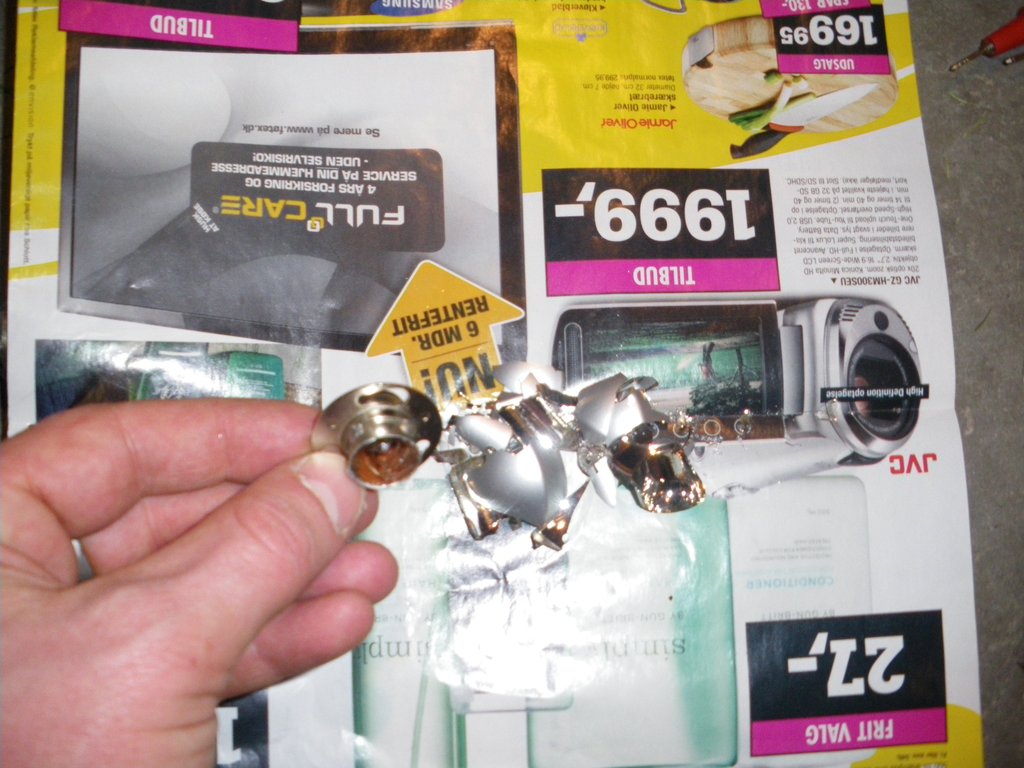 Bulb base is free Bulb base is free |
 New bulb fitted New bulb fitted |
 Projectorlens is cleaned Projectorlens is cleaned |
First I took a hammer and smacked the old bulb (using a paper around it to catch all the filaments) in order to get the bulb base. Thereafter i fitted the old bulb base to the rod (with a screw) and figured out how long it should be so that the LED would be in front of the projector lens. This took a bit of trial-on-error attempts to get right.
The last step was gluing the heatsink into place. Note that the rod is split in the top so that the fingers of the heatsink kept it in place until the glue had dried.
Testing & evaluating.
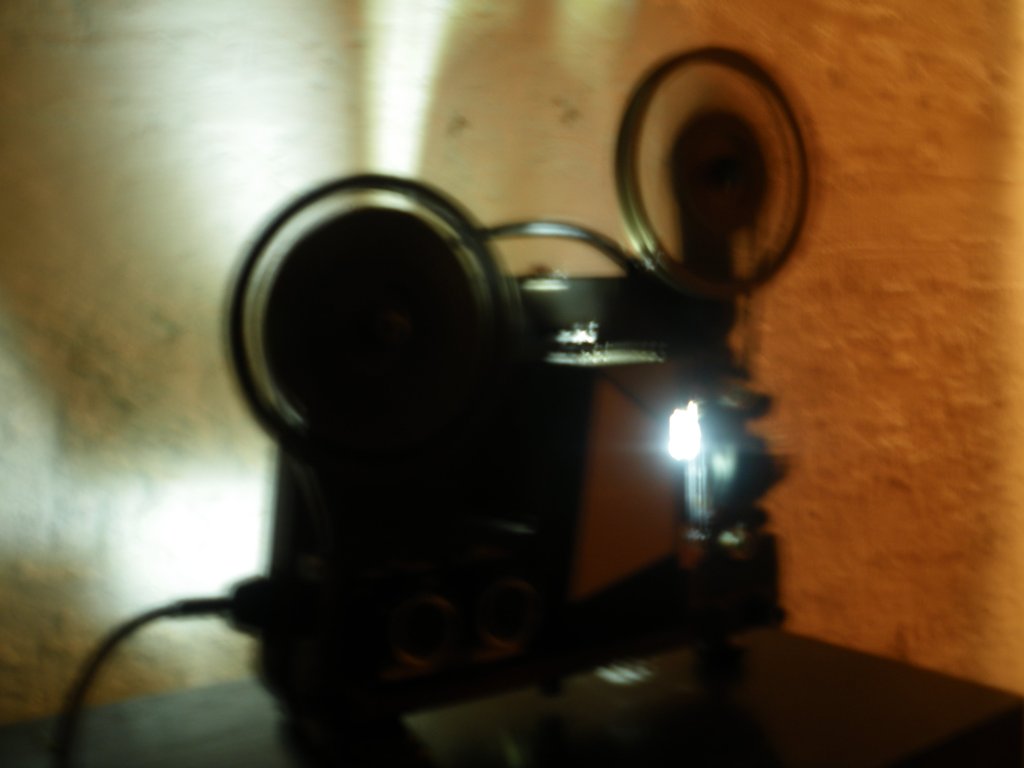
After reassembling the projector it was tested using a few different old movies. They all played reasonable well, but the colors was not quite like with the old bulb. This does not really matter in my opinion as i find the new colors more “true”. The pictures below are not entirely true. The image is fairly sharp, but it is difficult to photograph in the dark.
The project took approximately 4 hours in total over three nights and cost $20. The heatsink stays completely cool even after several hours of operation. The led is rated for thousands of hours in comparison the original bulbs 25 hours. The whole apparatus will probably break down before the new bulb.
 Projector Image Projector Image |
 Raynox assembled Raynox assembled |
 Raynox without shields Raynox without shields |
If other people attempt this, i think you should aim for a LED that is at around 15.000mw as this bulb is a little weaker than the original. Also it would be beneficial to find a LED with an onboard lens so the light can be focused directly at the projector lens.
Fun and easy weekend project though.